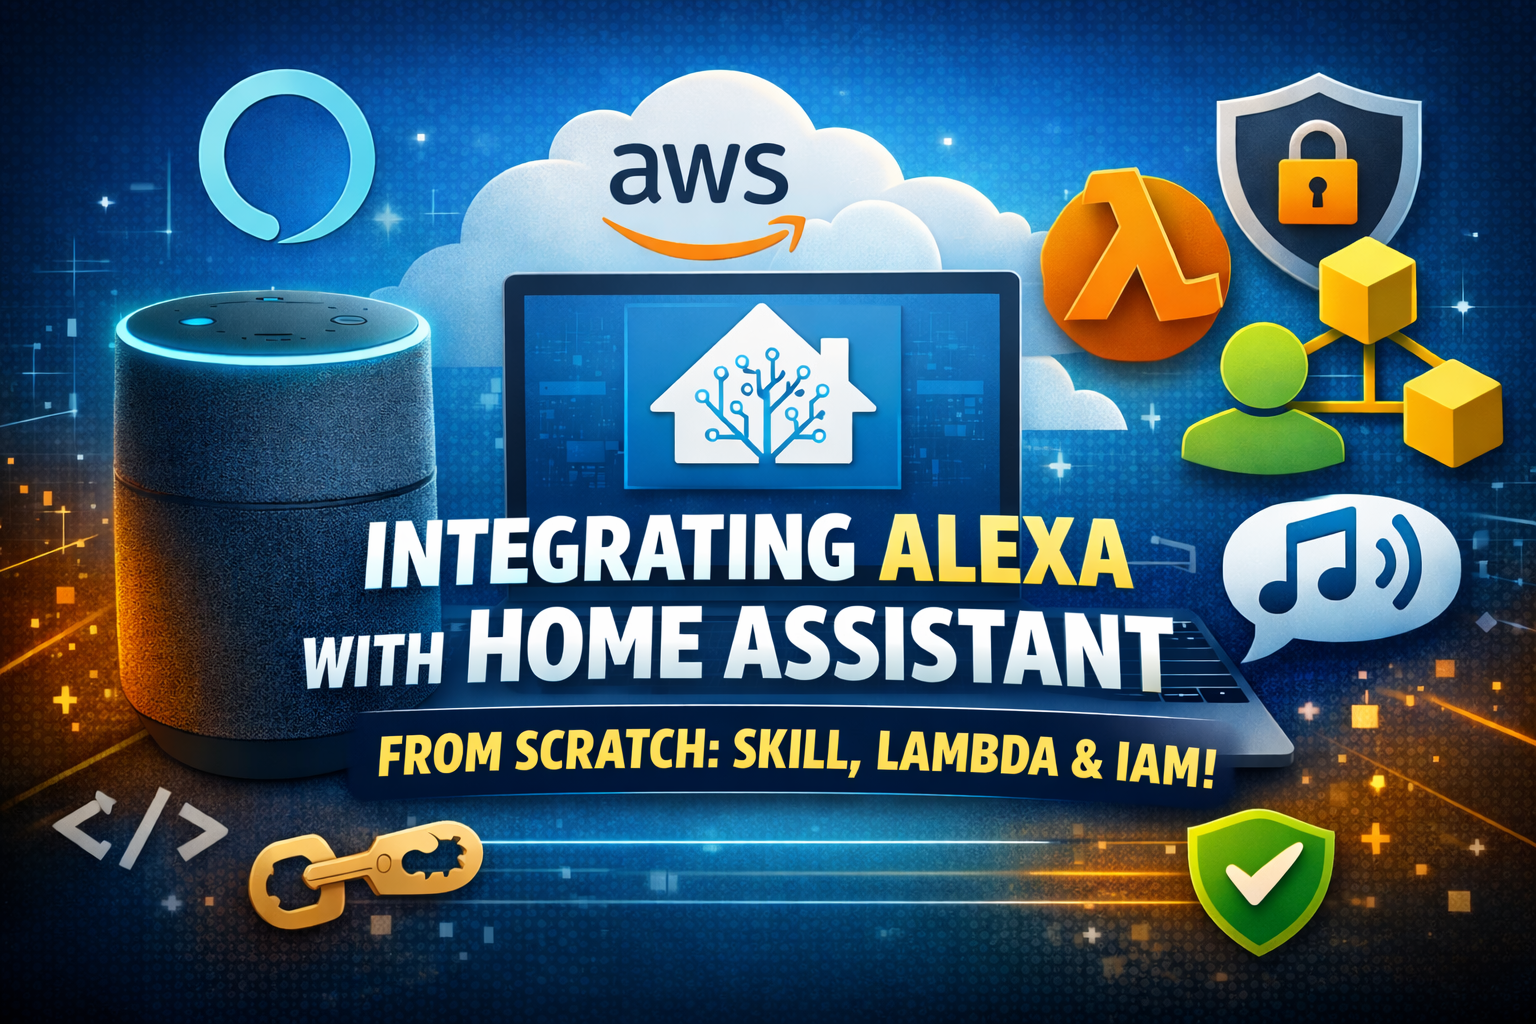
How to integrate Alexa with Home Assistant the "raw" way (Skill + Lambda + IAM + Alexa Media Player)
- January 15, 2026
Integrating Alexa with Home Assistant using the “official and complete” path is the kind of thing that works really well… after you get punched a few times along the way.
Here I’m going to leave the full step-by-step, from zero. The boring parts (Skill, Lambda, IAM, correct region), the critical parts (HTTPS/443 and account linking), and the fun part (Alexa Media Player to make your house talk).
Prerequisites you need to have sorted out first
That usually means one of these options (pick your poison):
- reverse proxy + 443 pointing to HA (custom domain + Let’s Encrypt)
- Cloudflare Tunnel (works well and is my current setup)
- DuckDNS + Let’s Encrypt (the classic)
I won’t go too deep here, because every setup is its own universe. Just keep this rule in mind: Alexa account linking gets very picky if you move away from “valid HTTPS on port 443”. The Home Assistant docs repeat this a lot.
Step 1. Create the Smart Home Skill in Alexa Developer Console
- Go to the Alexa Developer Console and create a new skill.
- Choose “Smart Home” and “Provision your own”.
- Make sure it’s using payload v3 and take note of the Skill ID. You’ll need it for Lambda.
Step 2. Create the IAM Role (so Lambda can run)
In the AWS IAM Console, create a Role for the “Lambda” service.
Attach the AWSLambdaBasicExecutionRole policy.
That’s it. Don’t overthink this part.
The Home Assistant docs describe exactly this path, including citing the policy.
Step 3. Create the Lambda function (and pick the right region)
For en-US (and also pt-BR), Home Assistant recommends US East (N. Virginia). If you create the Lambda in another region, the setup may look finished but the skill simply won’t work, with no obvious error.
So:
- In AWS Lambda Console: Create function → Author from scratch
- Runtime: Python 3.x (use the latest available)
- Execution role: use the role you created earlier
- Add trigger: “Alexa Smart Home”
- Paste your Skill ID
Step 4. Lambda code (the proxy to /api/alexa/smart_home)
At the end of the day, this Lambda does one thing only: it receives what Alexa sends and forwards it straight to Home Assistant’s /api/alexa/smart_home endpoint. No real magic here.
The Home Assistant docs tell you to copy a Python script from a specific gist, already adapted for some scenarios like proactive events.
Below is a clean, formatted version of lambda_function.py, based on that gist and working well in practice:
"""
Alexa Smart Home Skill Adapter for Home Assistant
Based on the community gist referenced by Home Assistant documentation.

Env vars:
- BASE_URL (required): https://your-domain (no trailing slash)
- NOT_VERIFY_SSL (optional): True to ignore SSL issues (not recommended)
- DEBUG (optional): True for verbose logs and token fallback
- LONG_LIVED_ACCESS_TOKEN (optional): debug/testing only
"""
import json
import logging
import os
from typing import Any, Dict

import urllib3

_debug = bool(os.environ.get("DEBUG"))

_logger = logging.getLogger("HomeAssistant-SmartHome")
_logger.setLevel(logging.DEBUG if _debug else logging.INFO)

logging.getLogger("urllib3").setLevel(logging.INFO)


def _mk_error(error_type: str, message: str) -> Dict[str, Any]:
    return {
        "event": {
            "payload": {
                "type": error_type,
                "message": message,
            }
        }
    }


def lambda_handler(event: Dict[str, Any], context: Any) -> Dict[str, Any]:
    _logger.info("Processing Alexa request")

    base_url = os.environ.get("BASE_URL")
    if not base_url:
        _logger.error("BASE_URL environment variable not set")
        return _mk_error("INVALID_REQUEST", "BASE_URL environment variable must be set")

    base_url = base_url.rstrip("/")

    directive = event.get("directive")
    if not directive:
        return _mk_error("INVALID_REQUEST", "Request missing directive")

    payload_version = directive.get("header", {}).get("payloadVersion")
    if payload_version != "3":
        return _mk_error("INVALID_REQUEST", f"Only payloadVersion 3 is supported, got {payload_version}")

    scope = (
        directive.get("endpoint", {}).get("scope")
        or directive.get("payload", {}).get("grantee")
        or directive.get("payload", {}).get("scope")
    )

    if not scope or scope.get("type") != "BearerToken":
        return _mk_error("INVALID_REQUEST", "Request missing BearerToken scope")

    token = scope.get("token")

    if not token and _debug:
        token = os.environ.get("LONG_LIVED_ACCESS_TOKEN")

    if not token:
        return _mk_error("INVALID_AUTHORIZATION_CREDENTIAL", "Authentication token is required")

    verify_ssl = not bool(os.environ.get("NOT_VERIFY_SSL"))
    http = urllib3.PoolManager(
        cert_reqs="CERT_REQUIRED" if verify_ssl else "CERT_NONE",
        timeout=urllib3.Timeout(connect=2.0, read=10.0),
    )

    try:
        resp = http.request(
            "POST",
            f"{base_url}/api/alexa/smart_home",
            headers={
                "Authorization": f"Bearer {token}",
                "Content-Type": "application/json",
            },
            body=json.dumps(event).encode("utf-8"),
        )

        if resp.status >= 400:
            body = resp.data.decode("utf-8")
            _logger.error("Home Assistant returned %s: %s", resp.status, body)

            error_type = "INVALID_AUTHORIZATION_CREDENTIAL" if resp.status in (401, 403) else "INTERNAL_ERROR"
            return _mk_error(error_type, body)

        return json.loads(resp.data.decode("utf-8"))

    except Exception as e:
        _logger.exception("Unexpected error: %s", str(e))
        return _mk_error("INTERNAL_ERROR", "An unexpected error occurred")
After pasting the code, click Deploy.
Step 5. Lambda environment variables (don’t skip this)
In the Lambda configuration, go to Configuration -> Environment variables and add:
BASE_URL= your public Home Assistant URL (no trailing slash)
Example:https://home.yourdomain.com
Optional, if needed:
DEBUG=True(for testing and logs)LONG_LIVED_ACCESS_TOKEN= debug/testing only, remove laterNOT_VERIFY_SSL=True(only for temporary testing if you really know what you’re doing)
Step 6. Configure the Smart Home Skill endpoint (Lambda ARN)
Back in Alexa Developer Console: Build -> Smart Home -> Endpoint (Smart Home service endpoint)
Paste your Lambda ARN as the Default endpoint.
The HA docs describe this exact step.
Step 7. Account Linking (where most people get stuck)
Set it up like this:
- Authorization URI:
https://YOUR_HA/auth/authorize - Access Token URI:
https://YOUR_HA/auth/token
The HA docs also list the Client IDs for “Login with Amazon” (pitangui/layla) and mention that Let’s Encrypt is accepted.
Important details:
- Do NOT enable “linking from within your application”, because that forces a redirect URI that doesn’t work with HA’s flow
- Authentication Scheme: “Credentials in request body”
- Scope: create “smart_home”
Step 8. Home Assistant configuration (configuration.yaml)
Inside Home Assistant, add at least:
alexa:
  smart_home:
    locale: en-US
If you stop here, Alexa will try to expose everything, which usually turns into a mess.
I strongly recommend filtering:
alexa:
  smart_home:
    locale: en-US
    filter:
      include_domains:
        - light
        - switch
        - cover
        - climate
      include_entity_globs:
        - binary_sensor.*_motion
      exclude_entities:
        - switch.something_you_dont_want
The HA docs have filter examples and explain the order of application of includes/excludes.
Step 9. Enable the skill and discover devices
In the Alexa app (or mobile app): More -> Skills & Games -> Your Skills -> Dev
Enable your skill.
It will open Home Assistant login (account linking). If everything worked, discovery starts right away.
The HA docs describe this flow and “Discover devices” as well.
Testing the Lambda first (optional, but I like it)
The HA docs suggest creating a Discovery test event in the Lambda console. If you enabled DEBUG and added LONG_LIVED_ACCESS_TOKEN, this test is easy.
Example test payload (Discovery) that the HA docs use:
{
  "directive": {
    "header": {
      "namespace": "Alexa.Discovery",
      "name": "Discover",
      "payloadVersion": "3",
      "messageId": "1bd5d003-31b9-476f-ad03-71d471922820"
    },
    "payload": {
      "scope": {
        "type": "BearerToken"
      }
    }
  }
}
It explains that without a token, Lambda will only work if you’re in DEBUG mode with LONG_LIVED_ACCESS_TOKEN configured.
Exposing scripts and making Alexa run them
Scripts are supported by the Alexa Smart Home integration, but they don’t always show up nicely.
In practice, what works best:
- expose the script
- put it as an action in a Routine (when the app shows it)
- or create an input_boolean/switch and use automation to trigger the script (this almost always shows up well in Alexa)
Create a script in Home Assistant (real example)
Example script that speaks a basic house status. I’ll keep it simple, but you can see the idea.
Put it in scripts.yaml (or create via UI and adjust if you want):
house_status:
  alias: "House Status"
  sequence:
    - variables:
        lights_on: "{{ states.light | selectattr('state','eq','on') | list | length }}"
    - service: notify.alexa_media_echo_living_room
      data:
        message: >
          {% if lights_on == 0 %}
            All lights are off.
          {% else %}
            There are {{ lights_on }} lights on.
          {% endif %}
        data:
          type: announce
Important notes:
- I’m using
notify.alexa_media_echo_living_room, which comes from Alexa Media Player (we’ll install it soon) - I’m using announce to play as an announcement
- If you tried using
tts.google_translate_sayand got an error, that’s because you don’t have that service/config (and honestly, with Alexa Media Player you don’t need it)
Make sure the script appears in Alexa (via filter)
In configuration.yaml, include this script explicitly so it doesn’t depend on “include_domains”:
alexa:
  smart_home:
    locale: en-US
    filter:
      include_entities:
        - script.house_status
Restart HA, and tell Alexa to “Discover devices”.
Plan B that always works: create a “button” (input_boolean) and an automation
Create a helper input_boolean:
input_boolean:
  trigger_house_status:
    name: "Trigger House Status"
    icon: mdi:home-analytics
Expose this input_boolean to Alexa:
alexa:
  smart_home:
    locale: en-US
    filter:
      include_entities:
        - input_boolean.trigger_house_status
And create an automation that, when turned on, triggers the script and turns the boolean back off:
automation:
  - alias: "Alexa - Run House Status"
    trigger:
      - platform: state
        entity_id: input_boolean.trigger_house_status
        to: "on"
    action:
      - service: script.house_status
      - service: input_boolean.turn_off
        target:
          entity_id: input_boolean.trigger_house_status
In Alexa, this appears as a switch. Then you can create Routines, voice commands, whatever you want.
Step 10. Installing Alexa Media Player (TTS, announcements, Echo control)
Alexa Smart Home Skill is for controlling HA entities.
Alexa Media Player is for controlling Alexa devices from Home Assistant and making them speak.
The recommended installation is via HACS.
Install via HACS (Easy Mode)
- Go to Settings -> Devices & Services -> Add Integration -> Alexa Media Player
- Log in and configure 2FA with Authenticator App Key (yes, this is important).
The project wiki explains the 2FA flow and how to get the “Enter your key” (the secret) on Amazon’s approval page.
After configuring, you’ll get:
- entities
media_player.echo_* - services
notify.alexa_media_* - speak/announce actions (depending on version)
Ready-to-use examples I use a lot with Alexa Media Player
Announce on a specific Echo
service: notify.alexa_media_echo_living_room
data:
  message: "Front door opened."
  data:
    type: announce
Speak as normal TTS (not announce)
service: notify.alexa_media_echo_living_room
data:
  message: "Good night. Lights off."
  data:
    type: tts
Announcement on multiple Echos (group)
You can call more than one notify.* in sequence, or create a “broadcast” script:
script:
  announce_to_all:
    alias: "Announce to all Echos"
    fields:
      msg:
        description: "Message"
        example: "Test"
    sequence:
      - service: notify.alexa_media_echo_living_room
        data:
          message: "{{ msg }}"
          data:
            type: announce
      - service: notify.alexa_media_echo_bedroom
        data:
          message: "{{ msg }}"
          data:
            type: announce
Troubleshooting: when “nothing appears” in Alexa
If you tell Alexa to “Discover devices” and it says it found nothing, it’s usually one of these:
- HA is not accessible externally with valid HTTPS (account linking fails or works “halfway”)
- Lambda in the wrong region for the skill locale (en-US usually is N. Virginia)
BASE_URLin Lambda is wrong (with trailing slash, or pointing to internal URL)- you forgot to restart HA after editing
configuration.yaml - filter is excluding everything by accident (start by exposing 1 entity and grow)
- you enabled the skill in another Amazon account that’s not the one on your Echos (classic)
After the initial pain, this setup is rock solid. Native voice control through Smart Home Skill for “doing things”, and Alexa Media Player for making the house talk.
Once it’s done, you don’t really want to go back.