My homelab, Residential Rack
- 10 de julho de 2025

Since I started getting interested in technology and especially servers/networks, I had that almost nerdy desire to build a complete rack at home… not just for the aesthetics, which I confess, always enchanted me, but mainly for the control it provides, connection stability, centralized management, security, efficient Wi-Fi coverage and space for home automation.
I hadn’t had the opportunity for decent infrastructure to be able to set this up, so when we started the project to build a house I thought about this from the beginning. I designed the cabling project structuring walls and ceiling. Yes, even the ceiling, because access points on the ceiling are like stars in the sky, the more you have, the better the shine, I mean, the coverage. So, each area of the house like office, living room, gourmet area and suites received specific network points for devices like TV/Computer and access points.
A few years ago I discovered Unifi (thanks Reiner) and was enchanted by the brand. I acquired access points and always used them managing everything via controller on Linux. This worked, but you know that feeling of kludge? So… With the new house the idea was to have a rack to keep everything in its proper place using the right devices.
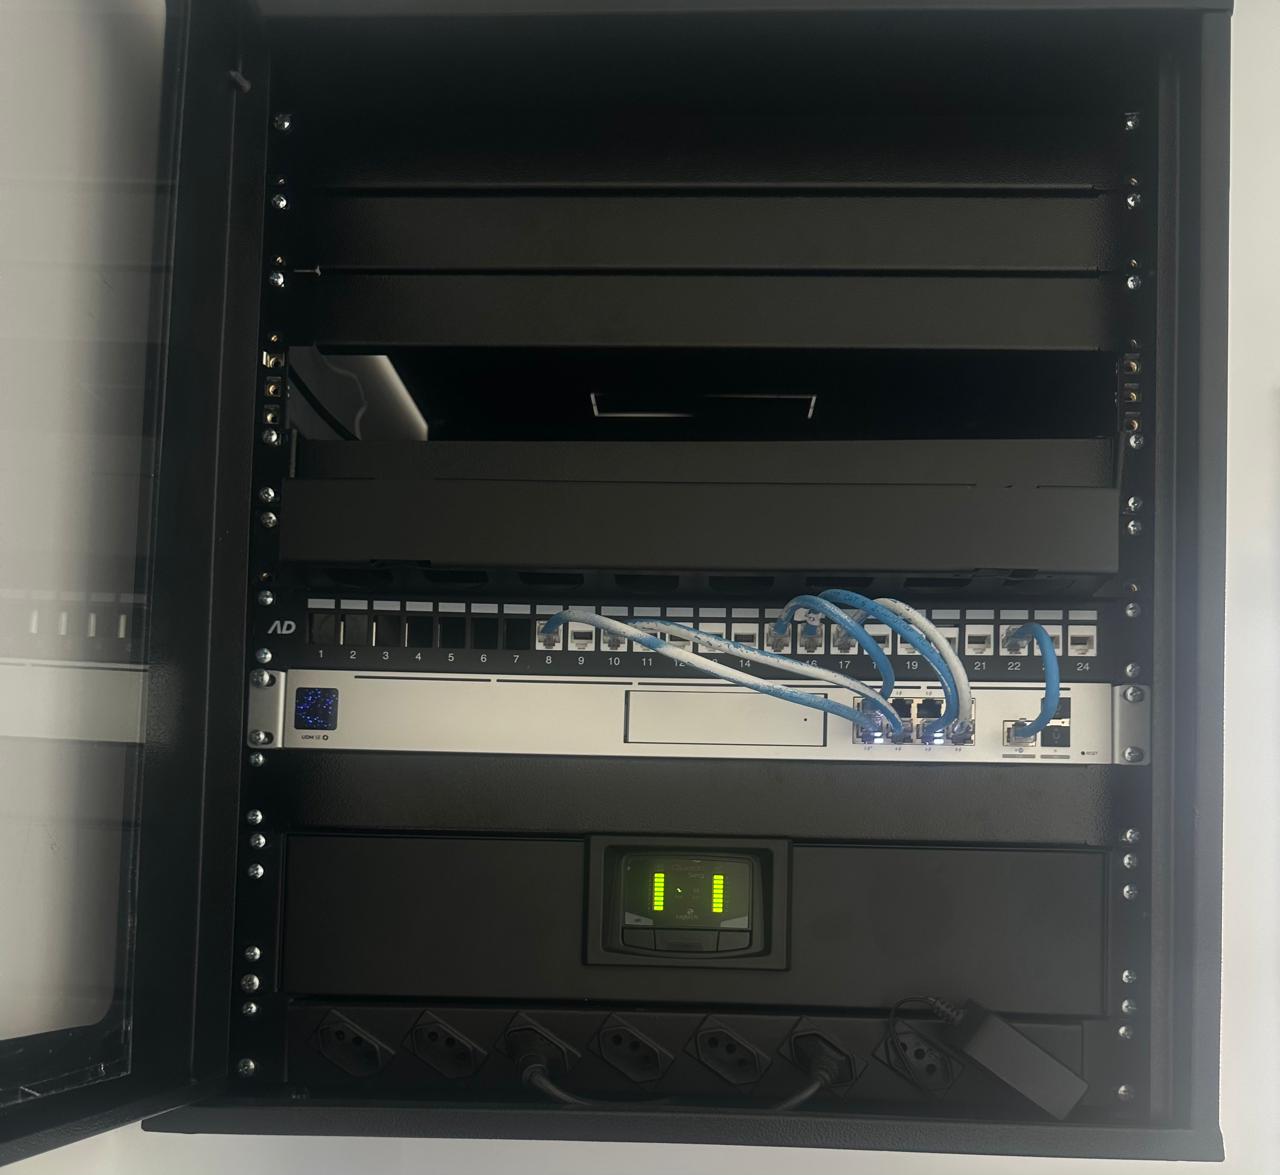
The orchestrator of all this is called Unifi Dream Machine. There are different versions of it, in my case I ended up choosing the Special Edition (UDM-SE), as it already provides PoE and thus I eliminate power cables from access points and cameras. The UDM acts as router, firewall, switch, access point controller, NVR and could even wash dishes if it had two little robotic arms.
In this whole idea I mounted my wall-mounted rack. Did it look good? Yes. Is it useful? Very. Did I need it? definitely, I explained to my wife that the internet gets faster with the rack. Follow me for more tips.
The process of organizing the cabling inside the rack is practically artisanal. You have to measure the cables, comb them as the specialists say. I installed an unloaded patch panel to facilitate possible keystone change needs. Everything labeled, organized. Only those who have suffered with network mess know the pleasure of seeing everything plugged in the right place.
Also living in there is a Ragtech Quadri UPS, ensuring that everything continues alive even when the power decides to take a vacation. And to complete the team, an HP Prodesk i5 running Home Assistant OS, responsible for all home automation. This little guy takes care of lighting, sensors, cameras, voice assistants and eventually reminds me that I left the window open, but that’s talk for another post.
This project is more of a hobby that makes me learn useful things, I learned more about PoE, rack ventilation, load distribution, grounding and even about how to organize cables without crying. And let’s face it, seeing everything working without kludge, without adapter hanging, without router on top of the microwave… it’s almost therapeutic.
Now I have total network control. I define VLANs, isolate equipment, generate alerts, create routines. Like when my daughter accesses YouTube when she shouldn’t, the router cuts and I receive a notification. Yes, modern dad.
I still intend to further improve this homelab, adding a NAS switch for photo/video storage.
In the next posts I want to talk more about the automation part with Home Assistant, how the integration with sensors, cameras, voice commands etc. works.
If you’re also thinking about setting up something similar I can guarantee it’s worth every minute of dedication, besides the fun of course!